
Patterns - Patterns comprise of the most simple form of shape or shapes that can be filled with any filter.Some of the predefined patterns are rectangles,stars,graphs and borders.User should keep in mind that the default Pattern of 'None' will apply the filter to the complete image.So if you are applying the filter and the filter is appears inside rectangles or diamonds but you want to apply the filter to the complete image,then the user should change the Pattern to 'None'.Every other Pattern will be used to create a new design with the selected filter filled inside that Pattern.
Following fields should be filled if you are using the Patterns other than the 'None' Pattern.
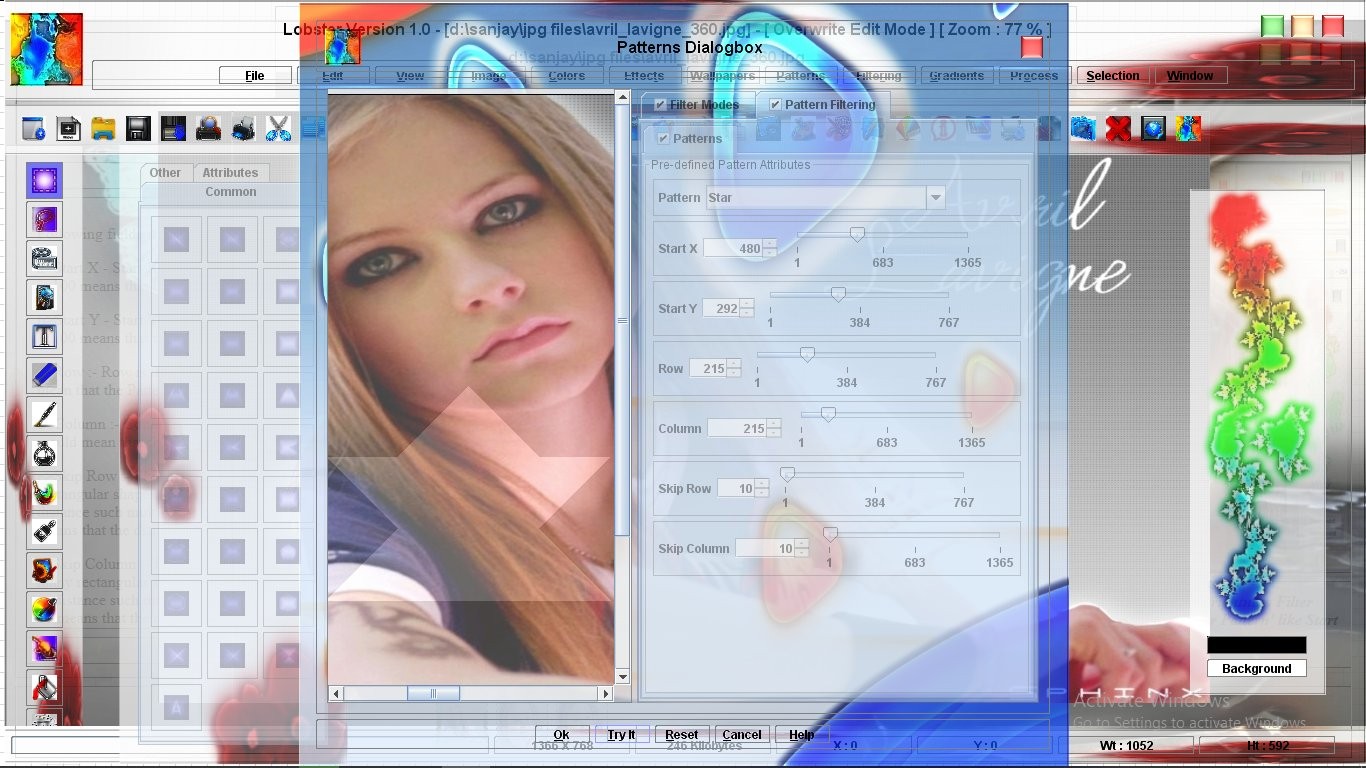
Here is the snapshot of the Pattern tab of the Brightness Filter Dialogbox.User can also see the Rectangles Pattern being applied to the image using the Brightness filter.Row and Column is set to 30,so the 'Rectangles' will be of 30 pixels in width and height.Skip Row and Skip Column are set to 2,so after every 'Rectangle' 2 pixels will skipped at the right and bottom before creating the next 'Rectangle' Pattern.
The most important thing to keep in mind about the all the input fields above is that there is no limit for entering the minimum and the maximum values in all the above input fields.Actually,the maximum value is image width in pixels for the input fields like Start X,Column and Skip Column and the maximum value for input fields like Start Y,Row and Skip Row is image height of the Image in the canvas.For e.g :- As the currently selected image changes,the maximum value of the Row input field will also change to the image height of the currently selected image because of the 'Multiple Document Interface(MDI)' where a software allows the user to work with many document windows at the same time.In this case,Lobster application being a Image Editor with MDI interface allows the user to work with multiple images at the same time.
Here is the snapshot of the image with the 'Brightness' filter in the 'Bottom Graph'.The most important thing to note is the input fields.'Start X' is set to 1 and 'Start Y' is set to 476 so the 'Bottom Graph' starts on pixel 1 on the horizontal (X) axis and pixel 476 on the Vertical (Y) axis.Row is set to 476,so the 'Bottom Graph' will be of 476 pixels in height.Column is set to 526,so the 'Bottom Graph' will be of width.
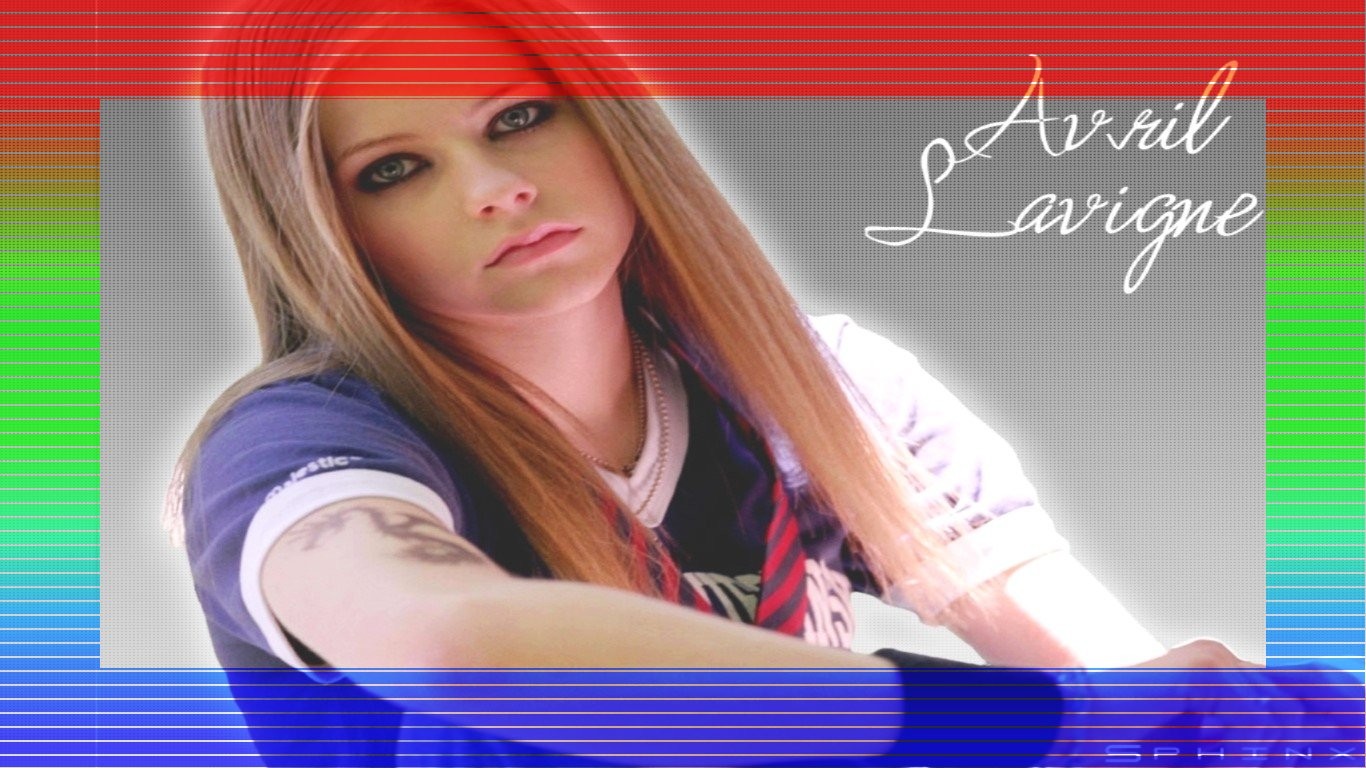
Here is the snapshot of the image with the Shifted Magenta filter applied with to it.User can also see the Ordinary Border Pattern being applied to the image using the Shifted Magenta filter.
If the user is using the Dynamic Filtering Panel,he will not come across the 'Start X' and 'Start Y' input fields like they are present in the Preview Dialogbox of any filter.The reason is that 'Dynamic Filtering' is a 'Point & Click Interface' and therefore the user can position the Pattern wherever he wants by starting to drag the mouse from a certain pixel in the image.User will also not come across the 'Single Shape Patterns' like Rectangle or Diamond like they are present in the Preview Dialogbox of any filter and only 'Multiple Shape Pattern' like Rectangles or Diamonds are present in the Patterns combobox/list,so the user should increase the Skip Row and Skip Column input fields to increase the distance between a 'Multiple Shape Pattern'.When the Skip Row and Skip Column are increased and user should start dragging the mouse to draw a Pattern and leave the mouse before the other shapes of that pattern appear on the image.
In Dynamic Filtering,user will drag the mouse to apply the filter from a specific pixel and leave the mouse when the user is satisfied with the position and size of the Pattern.Following snapshot shows the technique where the Pattern with the 'Multiple Shapes' like 'Plus Signs' is used to create a 'Single Shape' like 'Single Plus Sign'.Pattern 'Plus Signs' will generate 'Multiple Plus Signs' but because we only want 'Single Plus Sign',the other 'Plus Signs' are distanced by deliberately setting 'Skip Row' and 'Skip Column' to 50 pixels.User is expected to leave the mouse which he was dragging before the other 'Plus Signs' appear.
Patterns can also be used to create different versions of the same filter by using the very small Patterns to create a 'Interlace' effect or get a 'Spray Effect' for any filter.Following section will explain how to create 'Interlace' and 'Spray Effect' from any filter of the Lobster application.'Interlace' is the technique which was used in early years of Internet to display the image step by step because of the slow speed of the Internet in those years.So,the image would be shown as the image information was available.Usually,the image would be displayed with the 'Odd Rows' of the image displayed first till the end of the image and then the 'Even Rows' of the image would be displayed as the image would get slowly downloaded.For e.g :- 1,3,5,7,9,11 rows (Odd Rows) would be displayed first and then the 2,4,6,8,10,12 (Even Rows) would be displayed next.Following snapshot shows the 'Interlace' effect created with the help of 'Colored Chalk' filter and 'Horizontal Strips' Pattern.Because,the Pattern is 'Horizontal Strips' and 'Row' and 'Skip Row' are set to 1 pixel therefore the 'Colored Chalk' filter is applied only to the alternate rows of the image creating a 'Interlace' effect.User can see the original 'Colored Chalk' filter is the previous example.User should keep in mind that the 'Interlace' effect can be created with many Patterns like 'Vertical Strips','Horizontal Strips','Rectangles','Unrectangles' etc.Only condition is that the 'Row','Column','Skip Row','Skip Column' should be keep at the minimum number of pixels.

'Spray Effect' can be created from any filter of the Lobster application with the help of the 'Randomize' Pattern.'Spray Effect' created from the 'Randomize' Pattern is different from the 'Spray Effect' from the 'Artistic Effects' menu.Following snapshot shows the 'Spray Effect' from the 'Randomize' Pattern with Skip Row and Skip Column both set to 1 pixel each.

The complete list of the Patterns of the Lobster application are as follows :-
"None","Horizontal Strip","Horizontal Strips","Vertical Strip","Vertical Strips",
"Rectangle","Rectangles","Uneven Rectangles","Parallelogram","Parallelograms","Uneven Parallelograms",
"Windows 1","Windows 2","Plus Sign","Plus Signs","Uneven Plus Signs","Triangle","Triangles",
"Uneven Triangles","Diamond","Diamonds","Uneven Diamonds","Star","Stars","Uneven Stars","Randomize",
"Left Graph","Right Graph","Top Graph","Bottom Graph","Ordinary Border","Randomize Border",
"Rectangles Border"