Edit Modes is also another big feature of the Lobster application.Edit Mode feature allows the user to merge the contents of the 'Current Layer' with the 'Previous Layer' depending upon certain procedures and algorithms.Every Edit Mode has different algorithm which can be used by the user to get different effects even though the contents of the 'Current Layer' are not changed in any way.There are four Edit Modes which are Overwrite Edit Mode,Single Filter Edit Mode,Transparency Edit Mode and Full Screen Edit Mode.Full Screen Edit Mode is exclusively created for editing the images in the full screen mode and therefore has nothing to do with the editing of the images and therefore 'Officially' there are three Edit Modes left after excluding the Full Screen Edit Mode.The most important thing is that the settings of an Edit Mode will apply to Filter,Pattern,Pattern Styles,Filter Styles,Gradient,3D Effect and also text if is applied to the image.
User should keep in mind that even if the sequence of applying the filter changes the user will get different results and following snaphot demonstrates this concept.In the previous example,'Invert' filter was applied and then the 'Red Channel' was applied over it.This example 'Red Channel' is applied first and then the 'Invert' filter is laid over it.The user can clearly see the big difference in both the examples.
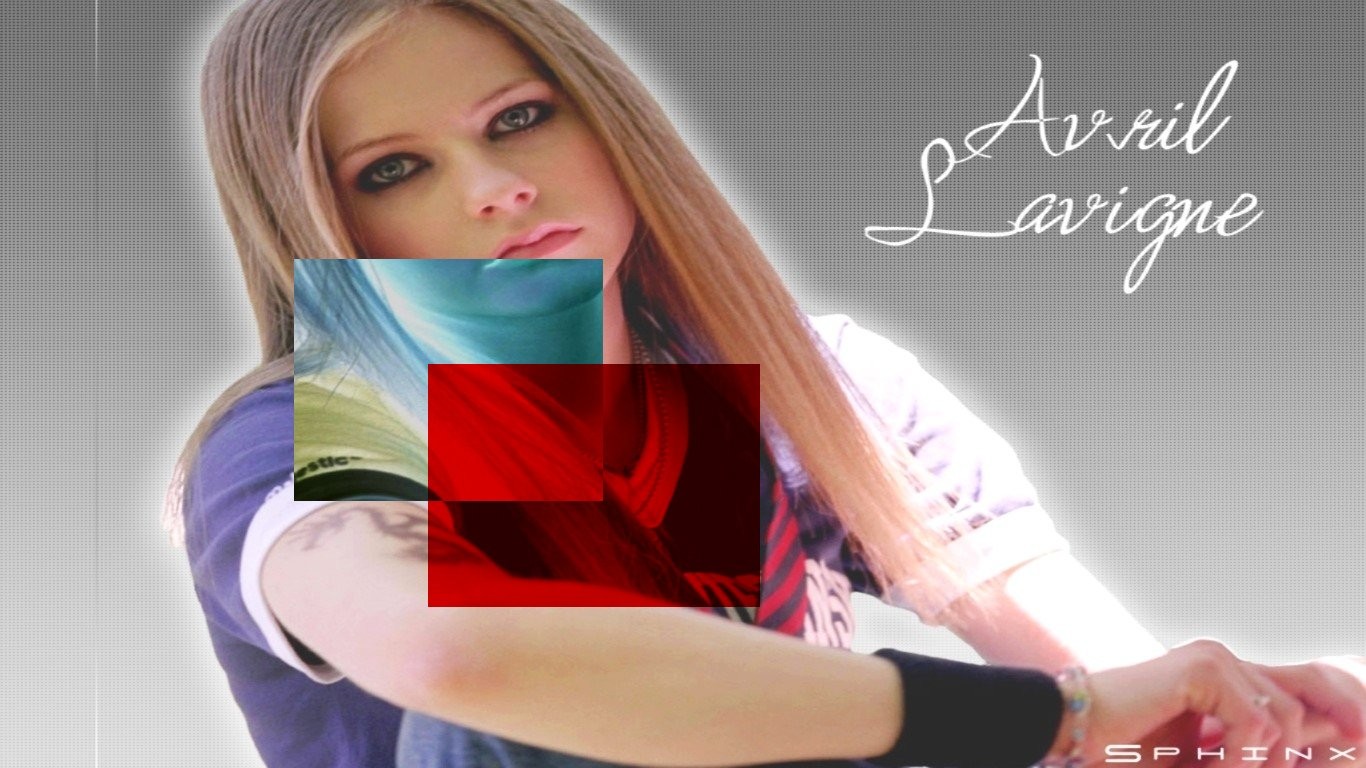
Following snapshot shows 'Previous Layer' which was applied with the 'Red Channel Filter' is overlapped by the 'Current Layer' which is applying the 'Invert Filter'.Because,this time we are using the 'Single Filter Edit Mode',the 'Invert Filter' skips the area where the 'Red Channel Filter' was applied.Therefore,the characteristics of the 'Previous Layer' are maintained even after been overlapped by the 'Current Layer' as the 'Intersection' does not occur coz the layers are not overwriting each other.'Invert Filter Layer' seems to be lying under the 'Red Channel Filter Layer' because it skipped the pixels having the 'Red Channel Filter Layer'.

Following snapshot shows another characteristics of the 'Single Filter Edit Mode' where the 'Succeeding Layers' will go under the 'Previous Layer' because those layers will not overwrite the 'Previous Layer'.Following snapshot shows that the 'Gradient Layer' which is the second layer goes under the 'Invert Layer' which is the first layer and then the 'Gradient with Randomize Layer' which is the third layer will go under both 'Invert Layer' and 'Gradient Layer' because the characteristics of the 'Previous Layers' will always maintained no matter how many layers are used while using Single Filter Edit Mode.The reason is that in 'Single Filter Edit Mode' every pixel will get filtered only once.

Following snapshot shows that if the layer overlap each other then only the 'Succeeding Layer' will go under 'Previous Layer' to maintain the characteristics of the 'Previous Layer'.In this example,'Second Layer' is 'Gradient of Bottom Graph' does not overlap the 'First Layer' which is 'Gradient of Rectangles'.But the 'Third Layer' of 'Red Channel' overlaps both the 'First Layer' and 'Second Layer' and hence goes under both the layers to maintain the characteristics of the 'First Layer' and 'Second Layer'.
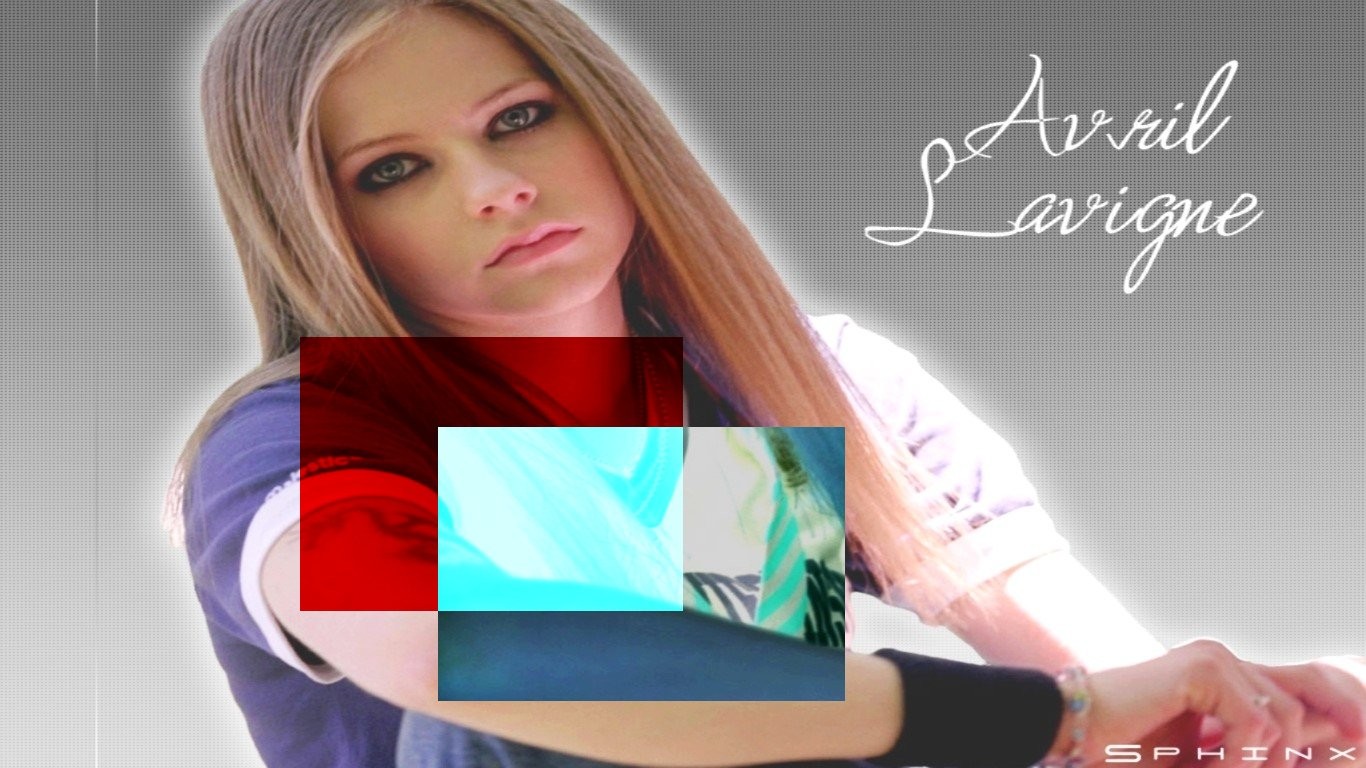
Following snapshot shows the how to use 'Refresh Single Filter Mode' command which can be used only with 'Single Filter Edit Mode'.Following snapshot seems to be complex but still it also shows how much flexible this Edit Mode is.'First Layer' is 'Grayscale Layer' and 'Second Layer' is the 'Gradient of Rectangles' which lies beneath the 'Grayscale Layer'.Now,suppose the user wants to edit both the layers which 'Single Filter Edit Mode' will not allow because a pixel on the image will be filtered only once in this mode.So,there is a provision that the user can use the command 'Refresh Single Filter Mode' where the user will be able to filter the image including all the 'Previous Layers' one more time 'only'.If the command 'Refresh Single Filter Mode' is used,then the Lobster application will assume that the image with the 'Previous Layers' are the original contents of the image and continue with 'Usual Behaviour' of the 'Single Filter Edit Mode'.This is also evident in the snapshot also where the 'Grayscale' is the 'First Layer' and 'Gradient of Rectangles' is the 'Second Layer' and then the command 'Refresh Single Filter Mode' is used.Now,the Lobster application will consider the image with both the 'Previous Layers' as the original contents of the image.'Red Channel' is then used which is laid over both the layers and both the layers get overwritten.Afterwards,the 'Invert Layer' is added and overlapped over the 'Red Channel Layer'.Because of the 'Single Filter Edit Mode','Red Channel Layer' doesnot get overwritten even though the 'Previous Layers' get overwritten.In short,command 'Refresh Single Filter Mode' will allow the user to filter any pixels on the image including the 'Previous Layers' only one more time.

There is also a peculiar behaviour that the user should understand while using the 'Single Filter Edit Mode'.If the user makes a mistake and uses the 'undo' command while using 'Single Filter Edit Mode',then also those pixels or area of the image will not be available for applying the filter any further.In those cases also the user can use 'Refresh Single Filter Edit Mode' command.If the user has already filtered the image with 'Single Filter Edit Mode',then the user should use 'Revert' command instead of 'undo' command to restore the complete image to its original pixels and start the filtering the image again.Following snapshot shows the effect of 'Revert' command used while using the 'Single Filter Edit Mode'.First,'Invert' filter was used in a small round rectangles and 'Revert' command was used and then 'Bottom Graph' was added to the image using the 'Green Channel' filter.

Following example shows the image '244_4412_RJLight.jpg' combined with the 'LobsterSamplergb.jpg' using the 'Transparency Edit Mode'.Usually,the '244_4412_RJLight.jpg' image would have overlapped the image 'LobsterSamplergb.jpg' but the 'Transparency' is set to 70% so the image 'LobsterSamplergb.jpg' is visible 70% while '244_4412_RJLight.jpg' image is visible only 30%.

Following example shows a very interesting example where the 'Medusa.jpg' image has been applied to the image using different Patterns like 'Horizontal Strip' and 'Vertical Strip' and each Pattern has a different transparency set to it.Watch closely and there are two 'Horizontal Strip's and two 'Vertical Strip's.

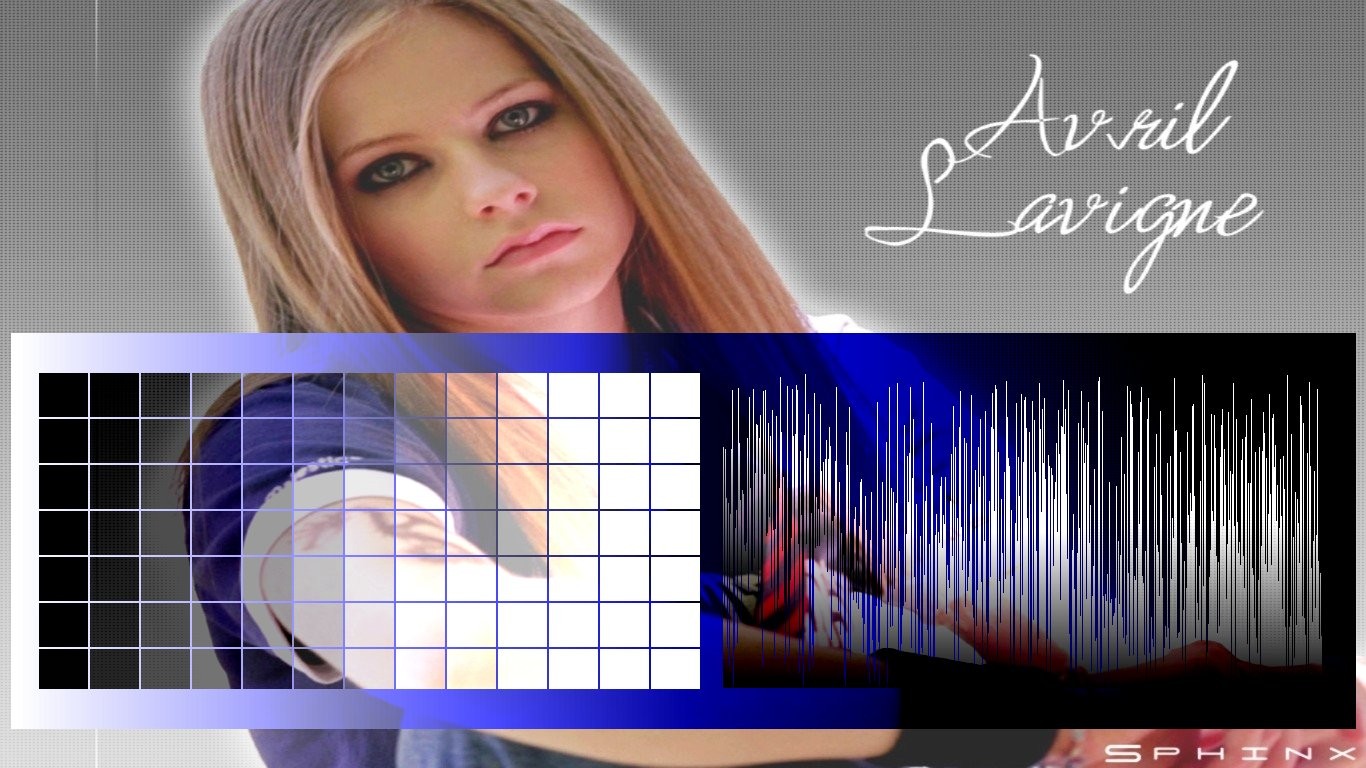
Following example shows the filter 'Red Channel' used with 20 % Transparency and then used with no Transparency at all.Gradient used is 'Top to Bottom Gradient' making a gradient ranges from darker pixels at the top to the brighter pixels at the bottom.
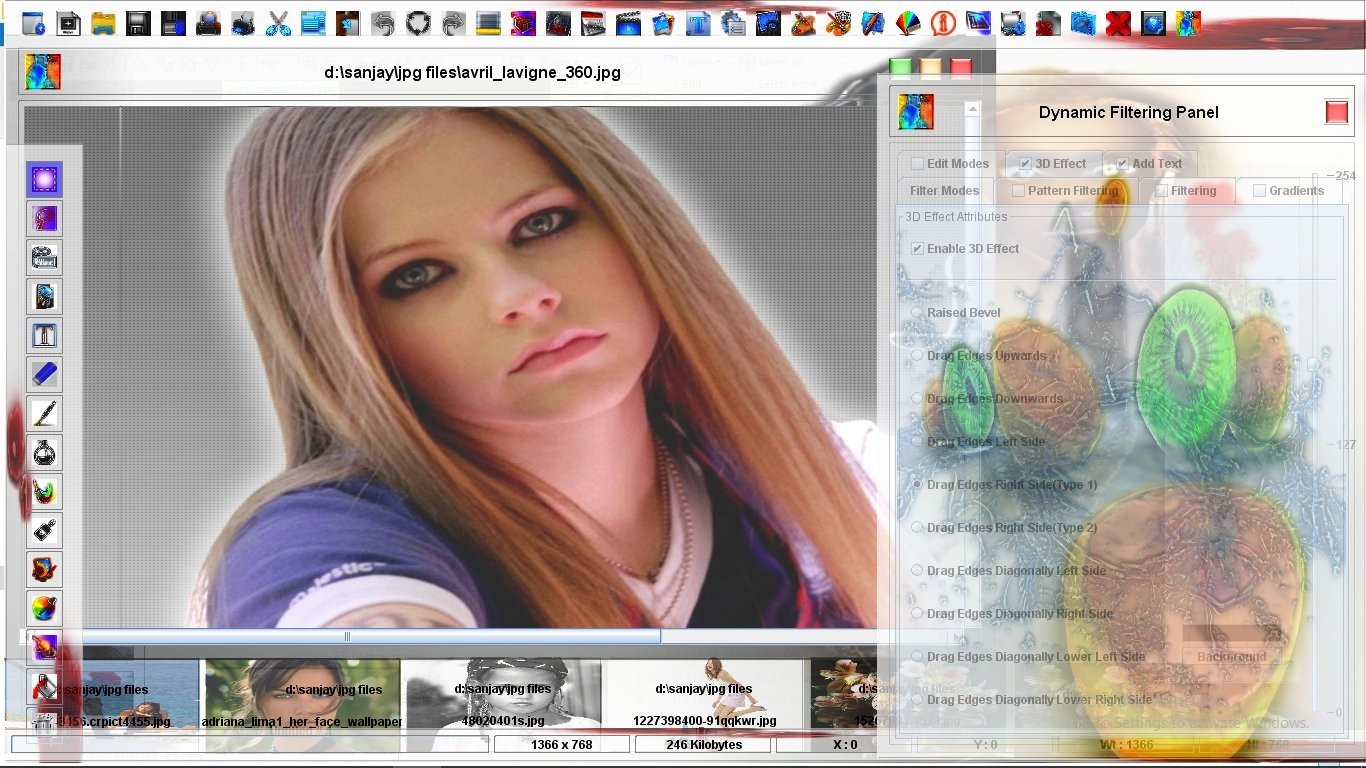
Dynamic Filtering allows the user to dynamically edit the images using the Dynamic Filtering Panel,Brush Panel and Drawing Panel.Dynamic Filtering allows the user a 'Point & Click Interface' which allows the user to just start dragging the mouse on the image where the user wants to apply the filter and leave the mouse after been satisfied with position and size of the filter.User can also double click the image to apply the filter to the complete image.Nearly all the functionality of the Lobster application is embedded in the Dynamic Filtering Panel.
Following snapshot shows all the Toolbars which will be used by user which are Dynamic Filtering Panel,Brush Panel,Drawing Panel,Color Panel and Standard Toolbar.
'Multiple Document Interface' is the ability to allow the user to work with many documents at the same time and Lobster application being an image editor allows the user to edit many images at the same time.The special thing abviously is that 'Multiple Document Interface' available even in the 'Full Screen Edit Mode'.Actually,there are two ways to navigate between the various images.First method is using the 'Window Decorations' like minimize,restore and close window to navigate between the various windows.Second method is using the 'Document Window Selector' where every image will have a 'Image Name' button which the user can click to move to another image.
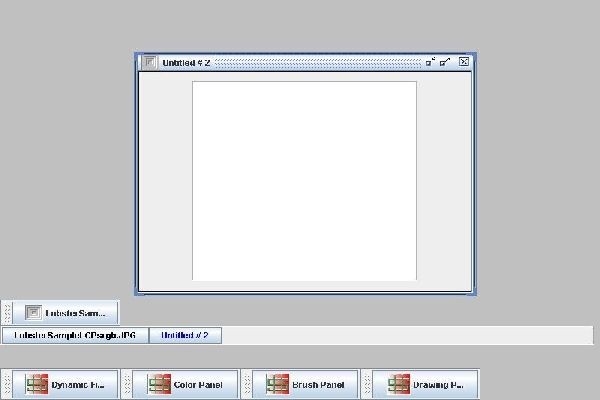
Following snapshot shows the 'Multiple Document Interface' in action where there are 6 'Document Windows' which can be 'Restored','Maximize' and 'Closed' using the 'Window Decorations' on the extreme top right of this snapshot.If the user was amuzed why there was some space left at the bottom of the application in 'Full Screen Edit Mode',then now it must be clear why it is so.Users can not only close the toolbars but also minimize them in the space left at the bottom of the application in 'Full Screen Edit Mode'.

Following snapshot shows the 'Secret' how does the Lobster application manages the 'Windows of Images' and 'Windows of Toolbar' without confusing the two types of windows.Lobster application uses 'Nested Desktops' which means 'Desktop inside another Desktop' and therefore there is clear distinction of 'Windows of Images' and 'Windows of Toolbars'.The smaller desktop is 'Desktop of Images' which includes the 'Document Window Selector' and therefore the user can clearly see the some images minimized and a open new image window.Outer Desktop is the 'Desktop of Toolbars' and also holds the 'Inner Desktop of Images' and therefore also has the space for the toolbars to be minimized.Because 'Inner Desktop' is the 'Desktop of Images' and therefore the images can be 'Restored','Moved','Resized' and 'Minimized' only inside the 'Inner Desktop'.'Outer Desktop' is the 'Desktop of Toolbars' and therefore the user will be able to 'Move' and 'Minimize' the toolbars anywhere on the screen because that ifself is the 'Outer Desktop'.