
Brightness Filter Style is another Filter Style which will give innovative results to the user by using different filters and images to get great results from Brightness Filter Style.Brightness Filter Style extracts the brightness from every pixel of the image in the 'Filter Style' tab to apply the selected filter to the pixel at the same position to the image in the canvas.Most important thing to keep in mind about this Filter Style is that as much the brightness of the pixel in the image from the 'Filter Style' tab that much the filter quantity applied to the image using the selected filter.Also equally important thing is that the results of this Filter Style depend only on the brightness and have nothing to do with colors of the image in the 'Filter Style' tab.Therefore,the original colors of any Graphics image can be replaced by the desired filters without losing the characteristics of those Graphics like Vector Graphics or 3D Graphics with the help of Brightness Filter Style.Even though this is a simple method but the results can be absolutely fabulous or absolutely weird depending upon the chosen filter and chosen image.User should keep in mind that the user might need to manipulate the values of Quantity,Red,Green and Blue input fields in the QRGB panel to get better results from the selected filter and selected image.Brightness Filter Style also can be used to filter the images with Vector Graphics and 3D Graphics but user will not have to specially learn anything additionally as the formula to filter the images with Vector Graphics and 3D Graphics remains the same.
Following snapshot shows the Brightness Filter Style in action as the brightness is extracted from the image 'Leaves.jpg' and applied to the image with the help of the filter 'Add Noise'.User can also see the input fields of the Brightness Filter Style in the 'Filter Style' tab.
Brightness Filter Style can be applied to the new canvas(new image) also and still the results can be impressive.Following snapshot shows the Brightness Filter Style in action as the brightness is extracted from the image 'Leaves.jpg' and applied to the 'New Image' with the help of the filter 'Add Noise'.Original solid color of the 'New Image' was Light Gray.

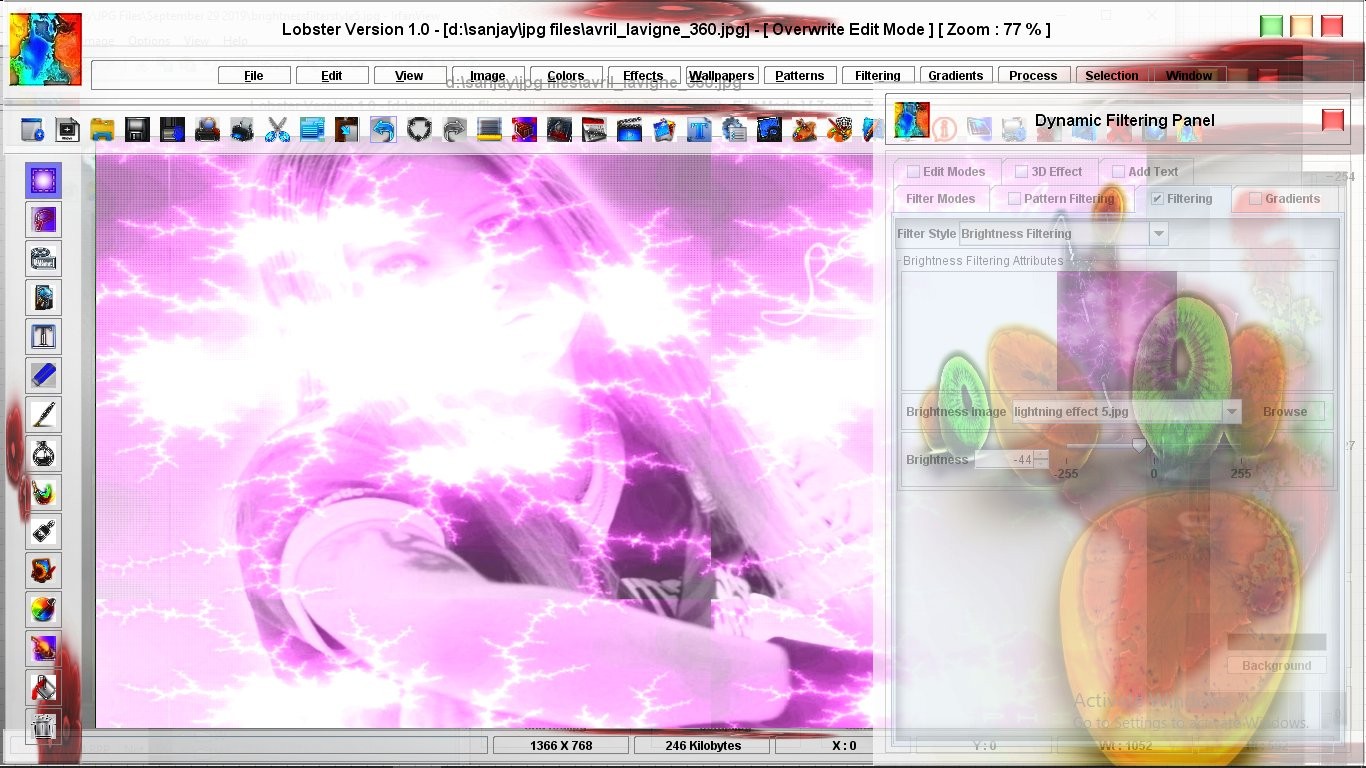
Brightness Filter Style can also lead to weird effects if the filter or the image chosen in the 'Filter Stle' tab is not appropriate.Following snapshot shows the Brightness Filter Style creating distortion as the filter is not appropriate.The image chosen from the 'Filter Style' tab is again 'Leaves.jpg' but the filter is 'Inverted Green Magenta' which leads to distortion and proves that the technique and image chosen are good and but appropriate filter should also be chosen.

Following snapshot shows the Brightness Filter Style creating distortion as the image chosen from the 'Filter Style' tab which is '244_4485_rjpp.jpg' is not appropriate even though the 'Brightness' filter is good and usually doesnot lead to distortion.

Following snapshot shows the Brightness Filter Style been used with Vector Graphics.Image chosen in the 'Filter Style' tab is 'Medusa.jpg' which has Vector Graphics and filter chosen is 'Brightness'.
Following snapshot shows the Brightness Filter Style been used with Vector Graphics again.Image chosen in the 'Filter Style' tab is 'Vectorj2.jpg' which has Vector Graphics and filter chosen is 'Invert'.Most important thing to note here is that the filter quantity changes according to the brightness of the Vector Graphics image making even an obcure filter like Invert create great results with the help of Brightness Filter Style.

Following snapshot shows the Brightness Filter Style been used with Vector Graphics again.Image chosen in the 'Filter Style' tab is 'Vectorm1.jpg' which has 'Mandelbrot' design inside it.Brightness is extracted from the image with Vector Graphics and placed over the 'New Image' with 'Light Gray' background and the selected filter is 'Opaque Textures'.This example is though a very powerful implementation of Brightness Filter Style where the 'Texture' chosen has a 'Plasma Effect' which get smoothly composed with the Vector Graphics image which has 'Mandelbrot' inside it.

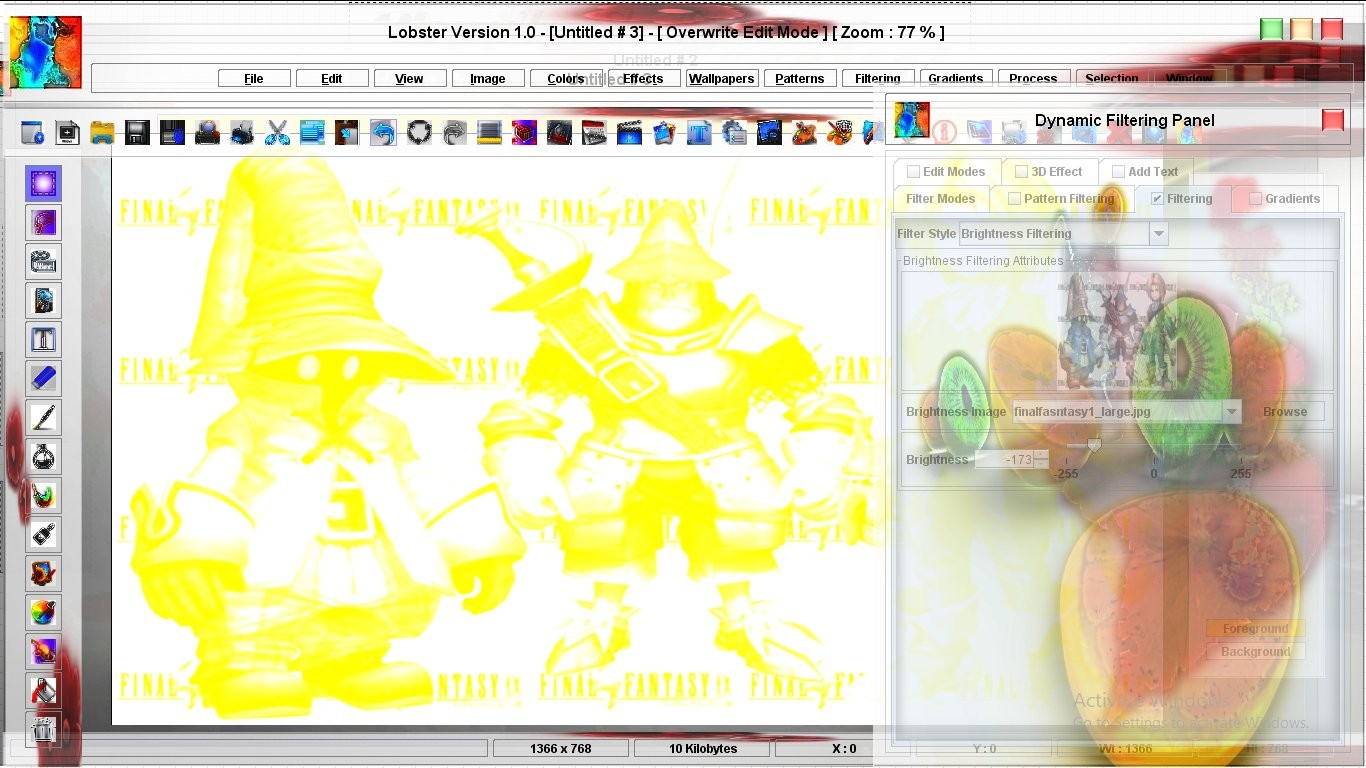
Following snapshot shows the Brightness Filter Style been used with 3D Graphics.Image chosen in the 'Filter Style' tab is 'ff9_criss_g.jpg' which has 3D Graphics.Brightness is extracted from the image with 3D Graphics placed over the 'New Image' with 'Orange' color and therefore the effect also is composed of 'Orange' color.Again,it is clearly visible that the texture of the 3D Graphics image is extracted as is from the 3D Graphics image and placed on the image using the Brightness Filter Style.
Following snapshot shows the Brightness Filter Style been used with 3D Graphics again.Image chosen in the 'Filter Style' tab is 'ff9_criss_g.jpg' which has 3D Graphics.Brightness is extracted from the image with 3D Graphics placed over the 'New Image' with 'White' background and the selected filter is 'Opaque Textures'.This example is though a very powerful implementation of Brightness Filter Style which shows the texture of 'Gradient' being inserted into the body of the 3D characters.This snapshot also shows the input fields of 'Opaque Textures' which allows the user to choose the texture to be applied.(User can look at the previous shapshot to get the glimpse of the original 3D graphics image which is in the 'Filter Style' tab).

Following snapshot shows the Brightness Filter Style been used with 3D Graphics again.Image chosen in the 'Filter Style' tab is 'ff9_criss_g.jpg' which has 3D Graphics.Brightness is extracted from the image with 3D Graphics placed over the 'New Image' with 'White' background and the selected filter is '3D Textures'.This example is though a very powerful implementation of Brightness Filter Style which shows the '3D Texture' being inserted into the body of the 3D characters.Just make the comparison with the texture in the Dynamic Filtering Panel which is not having 3D Graphics and with the '3D Texture' inserted into the body of the 3D characters.'3D Texture' has the 'Elevation' and 'Depth' because in this example '3D Textures' filter is used instead of 'Opaque Textures' filter.

Following snapshot shows how to extract the 3D characteristics of the 3D image without inherenting the original colors and combining it with the current image in the canvas.Though,it is similar to the previous three examples but the most important different is that the previous three examples where using a new image to extract and combine the 3D charactertistics of the 3D image.On the contrary,3D charactertistics are extracted and combined from the 3D image on the image 'Flowers13.jpg' which has the flowers image in it.Filter used was 'Brightness' and Quantity,Red,Green and Blue was set to -100.3D Image contains the 'Windows Logo' made of 3D Graphics which gets transparently applied over the 'Flowers13.jpg'.

All the above examples prove how much powerful Brightness Filter Style really is and can also be used to create some 'Professional Stuff' while using the images having Vector Graphics and 3D Graphics.Actually,the examples with Vector Graphics and 3D Graphics are really too good as the original colors of the Vector Graphics and 3D Graphics are surprising replaced by the desired filters without losing the characteristics of either Vector Graphics or 3D Graphics.